A U R A
Aura Logo

Before & after gallery

One of the most highly qualified plastic surgeons in Beverly Hills, Dr. Jonathan Kanevsky has a reputation for producing long-lasting, outstanding results that look completely natural for thousands of patients.

The before & after gallery speaks for itself

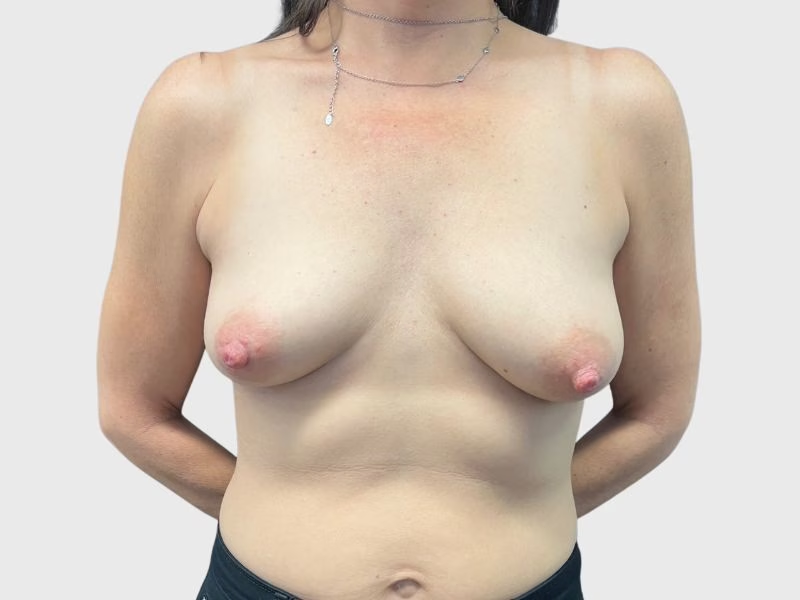
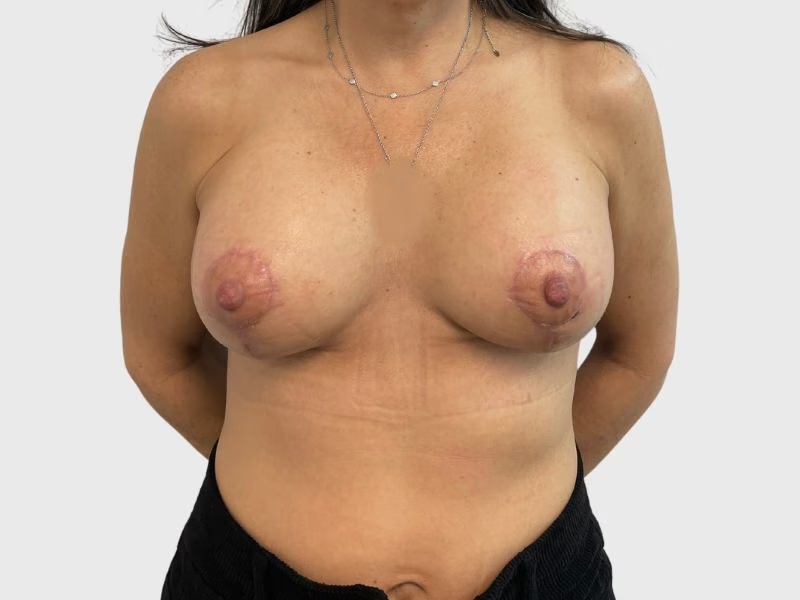
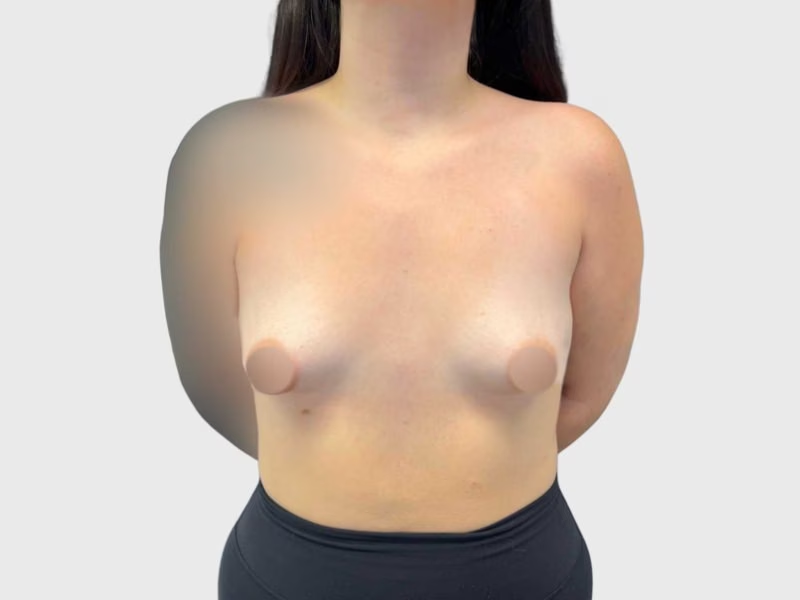
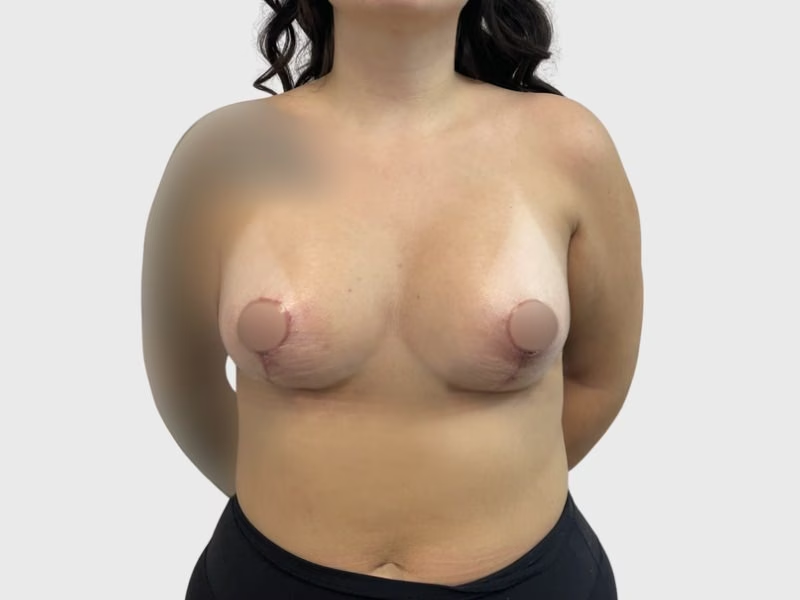
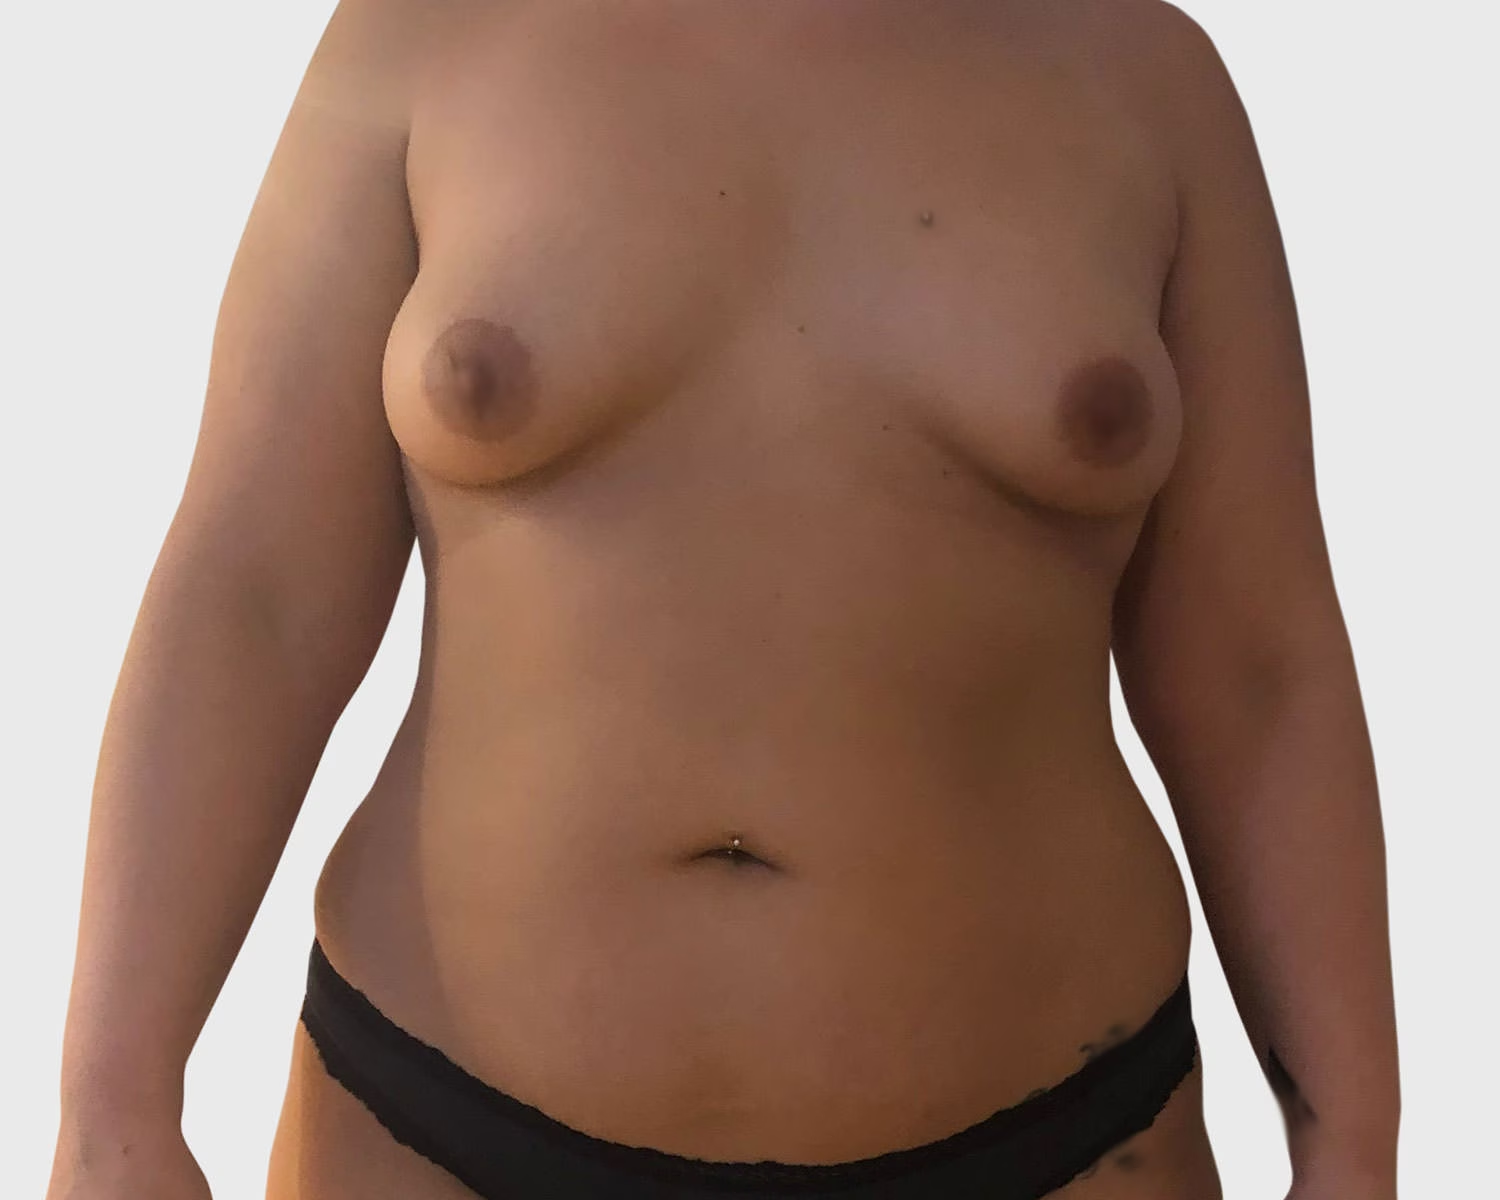
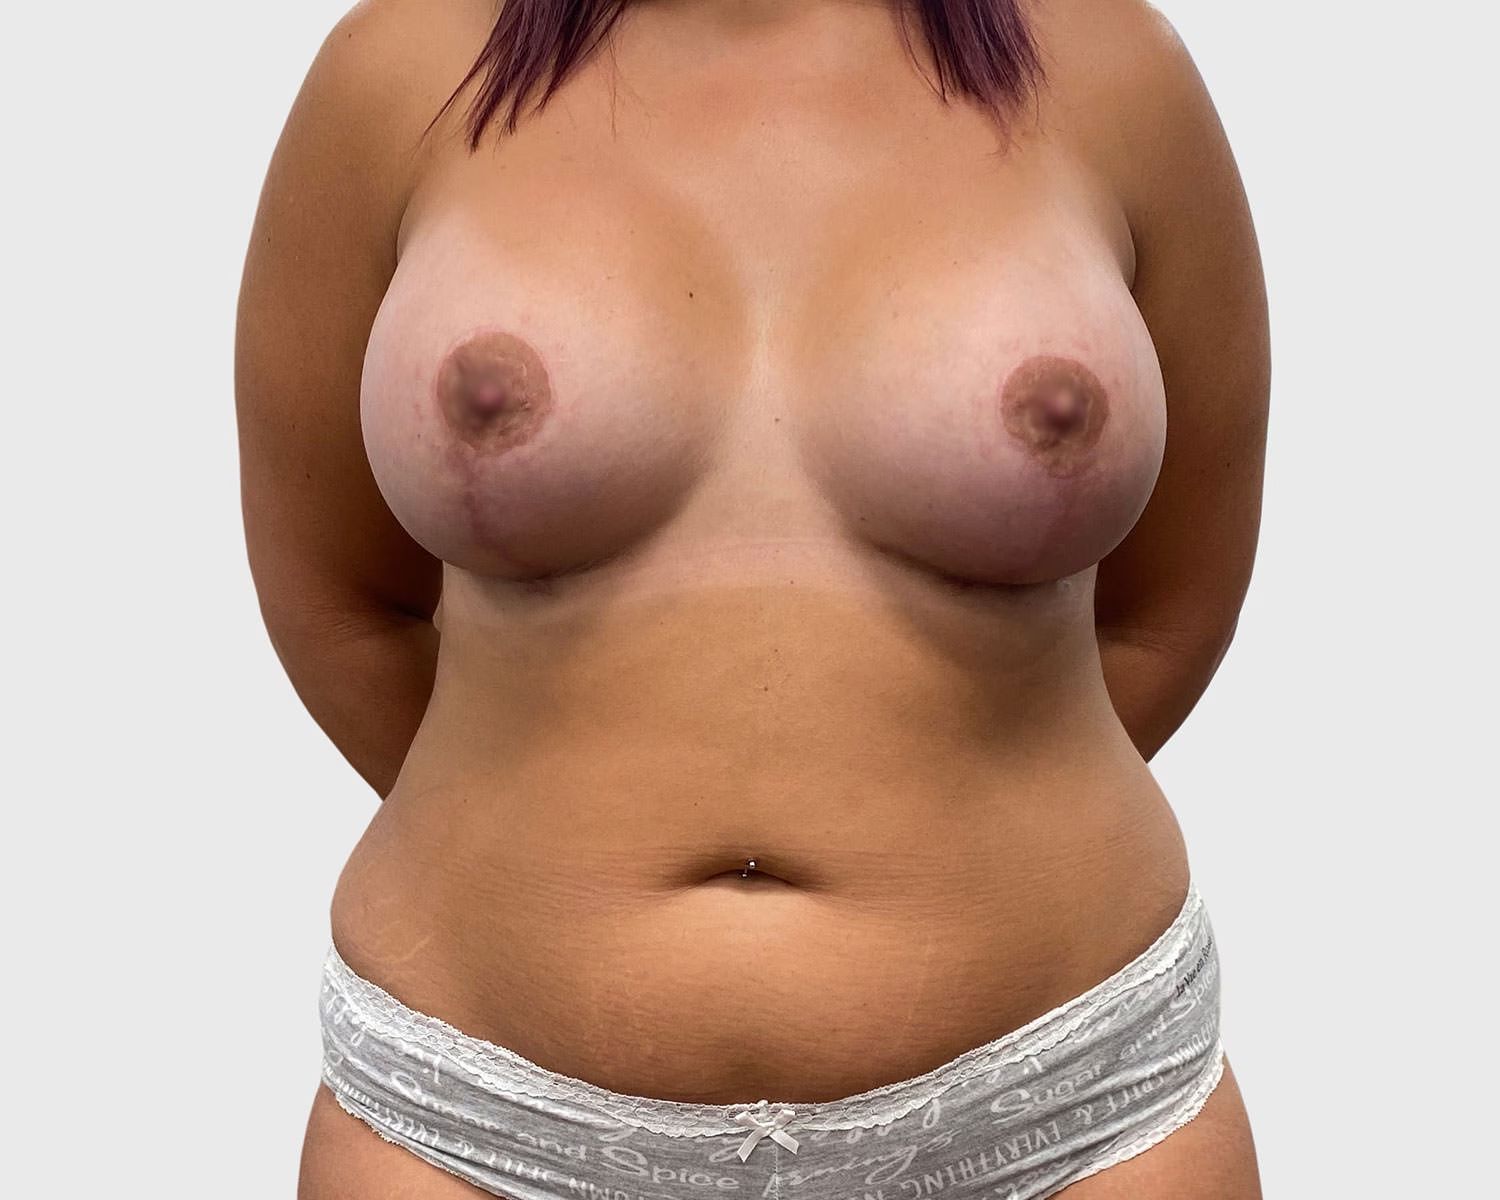
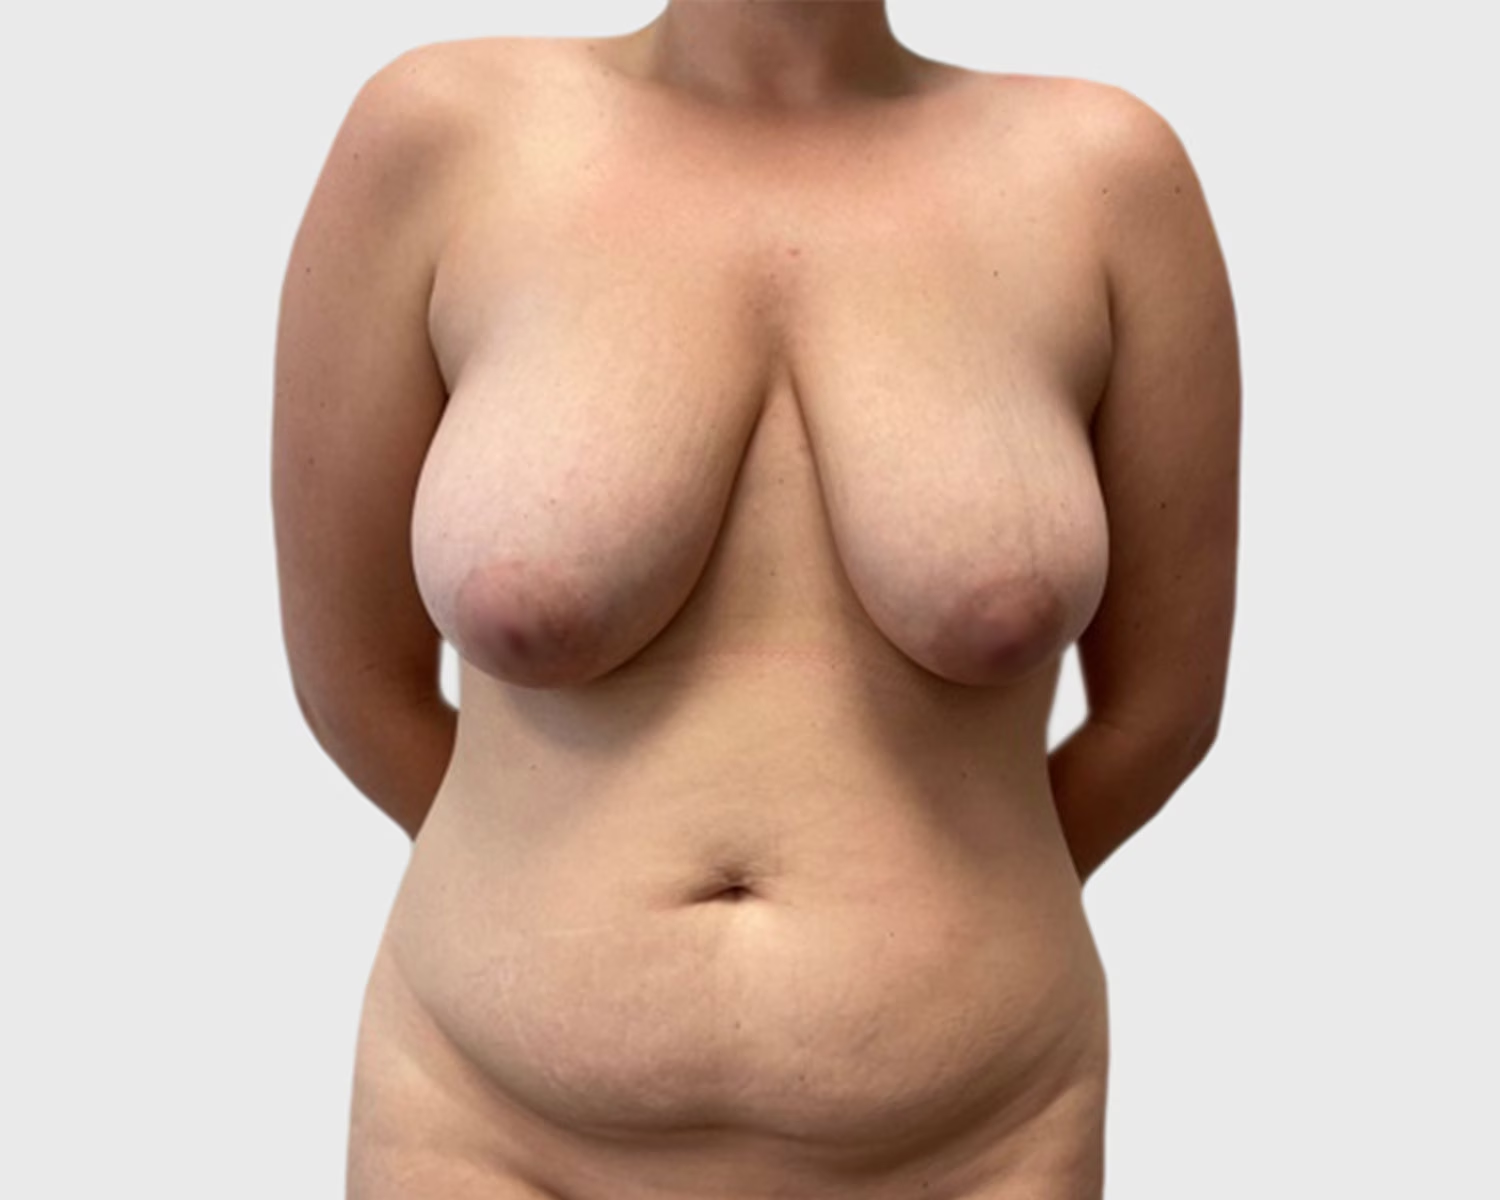
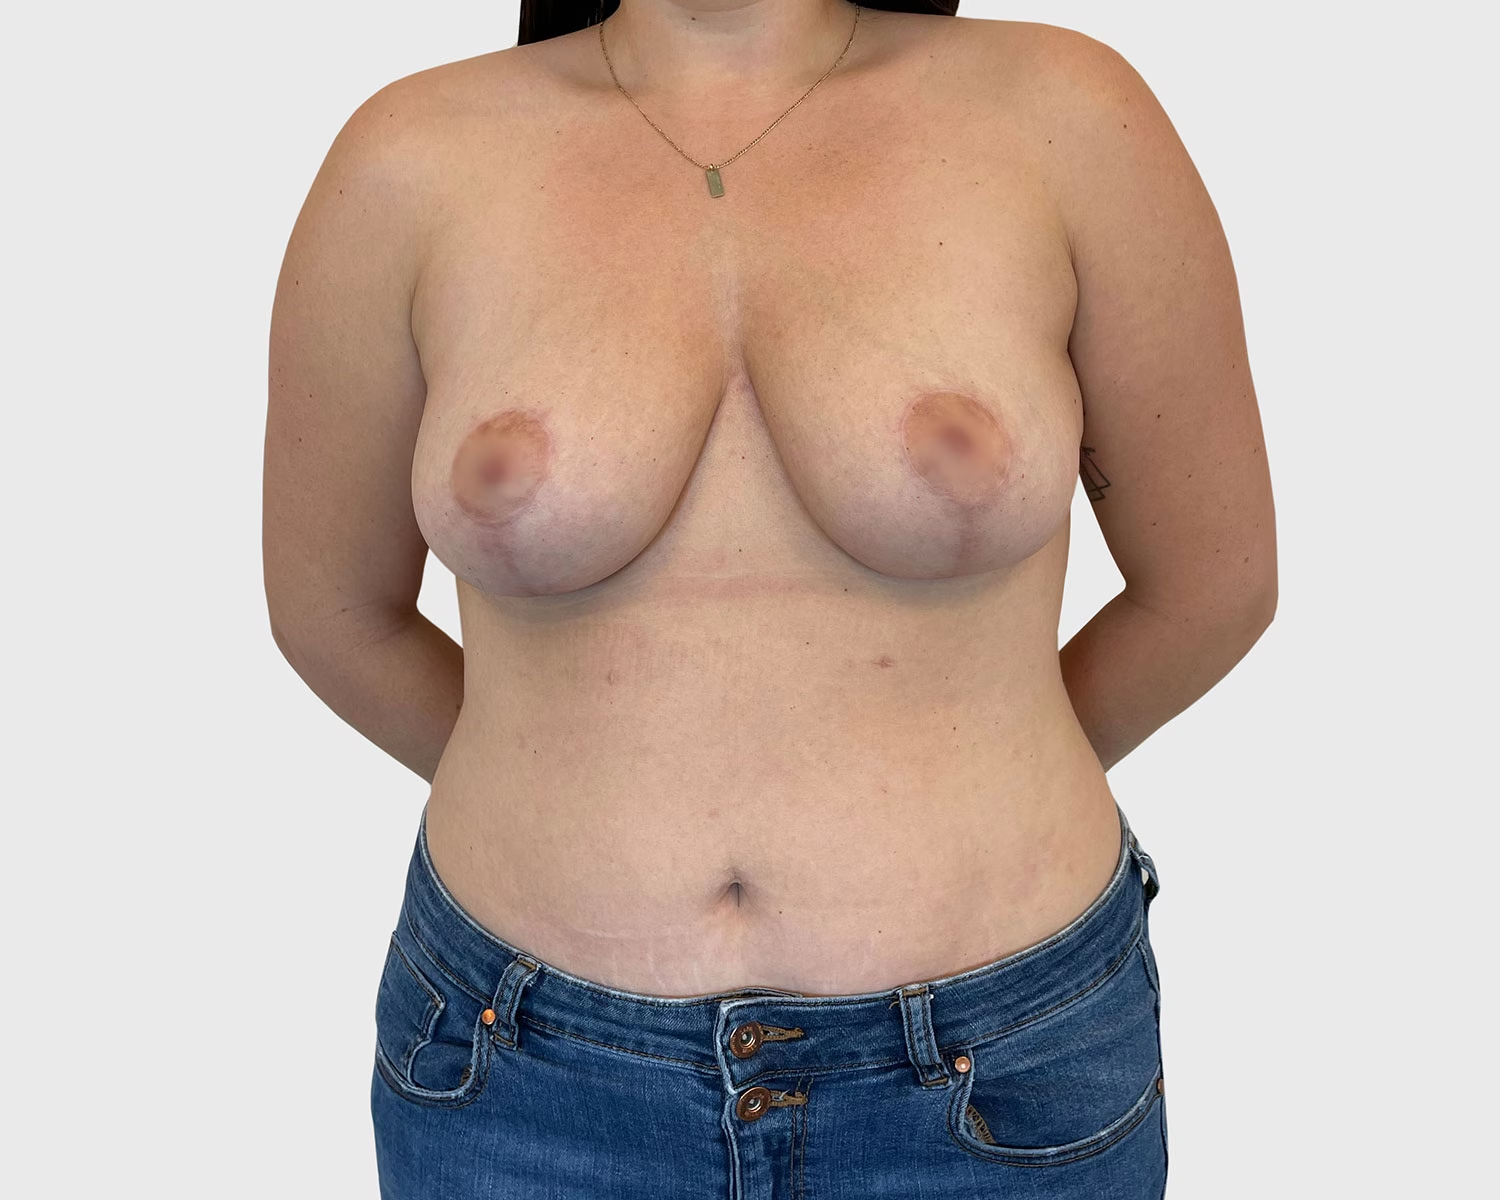
Reviewing before and after photography helps patients understand how procedure goals, anatomy, and healing timelines can influence outcomes. Our case library includes examples across fat transfer breast augmentation, breast fat grafting, 360 liposuction/BBL, and body contouring.

Each case reflects an individualized plan and should be viewed as educational context rather than a guarantee of any specific result. For a full procedure overview, visit our breast fat grafting page or schedule a private consultation.

BeforeAfter
BeforeAfter
BeforeAfter
Case 1Fat Transfer to BreastsView Case
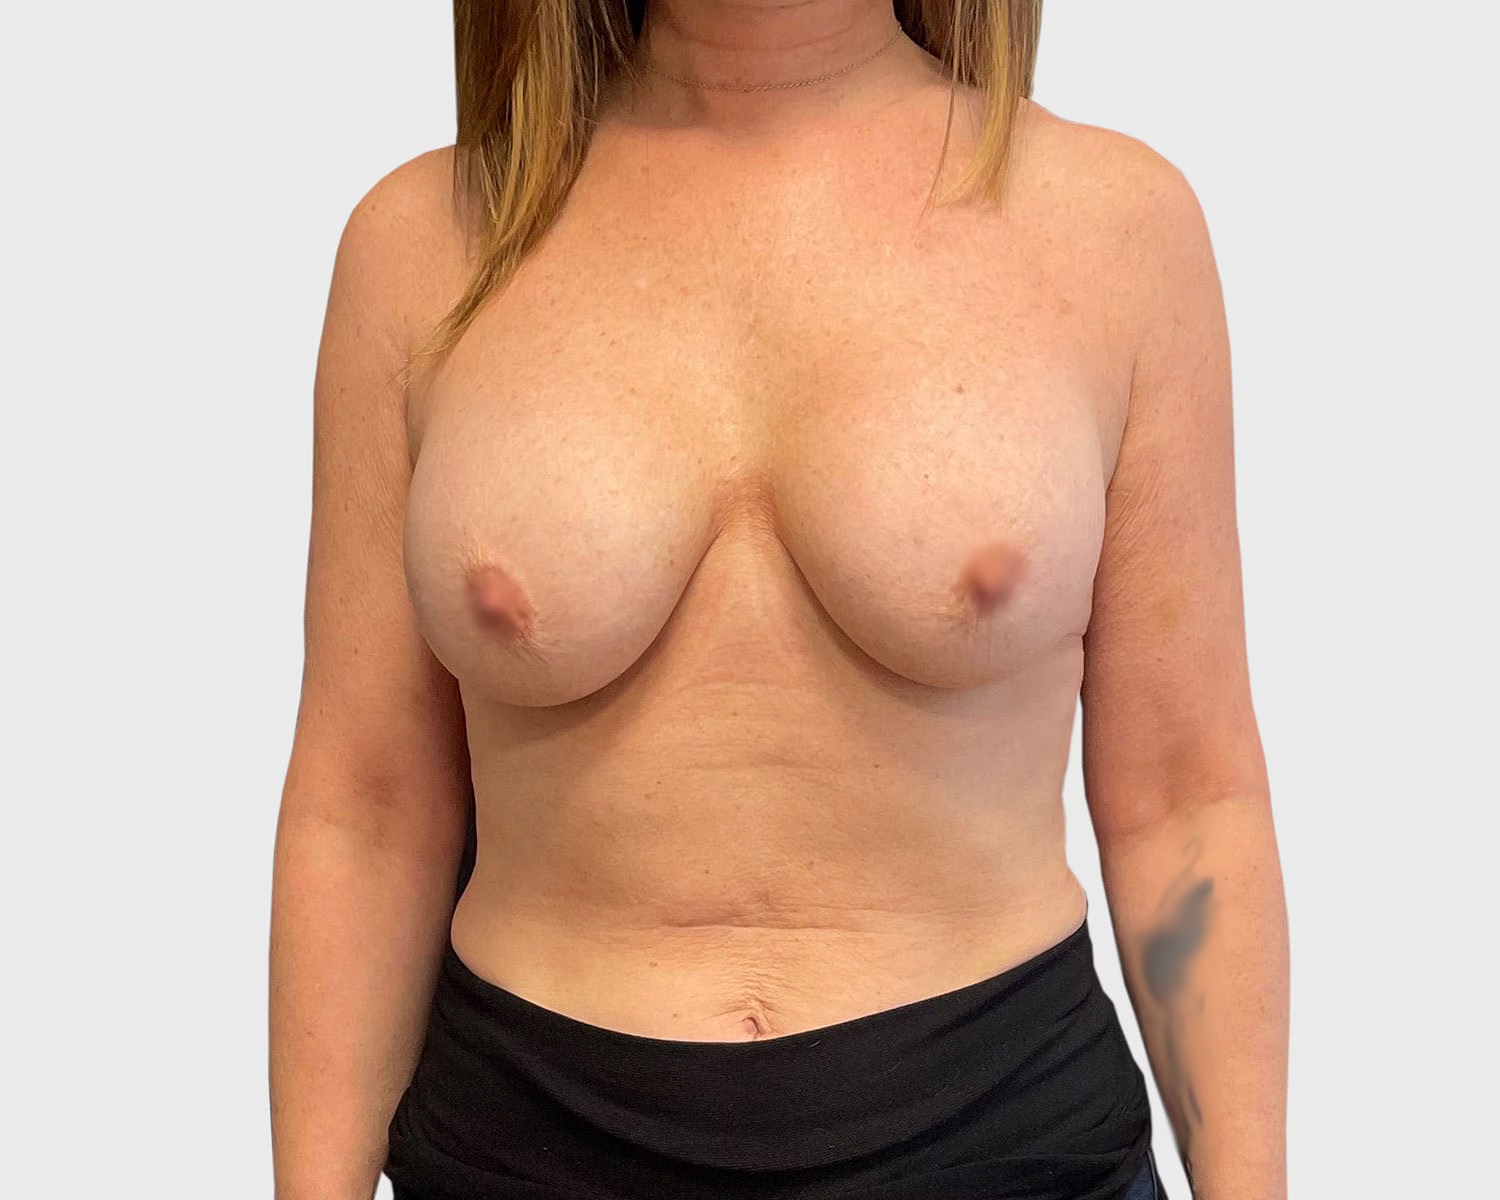
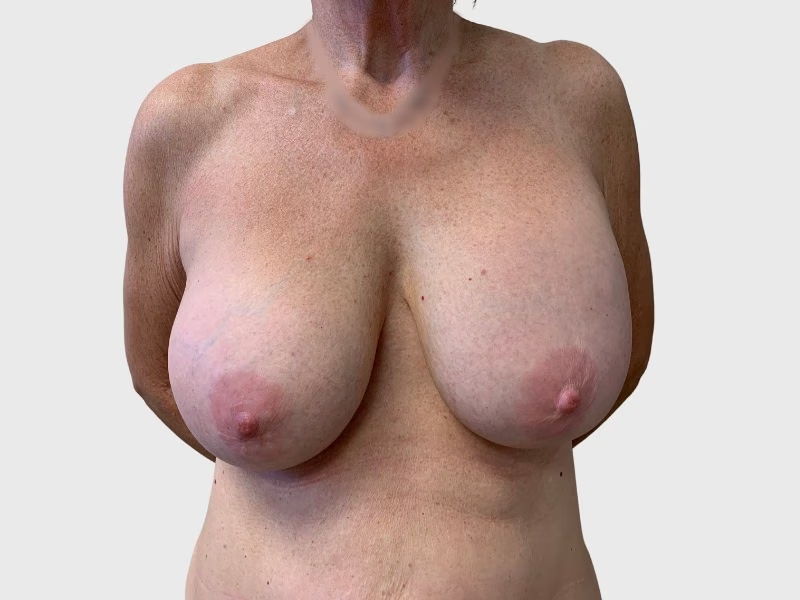
Fat Transfer to Breasts Case  1 before view for surgical case review
Before
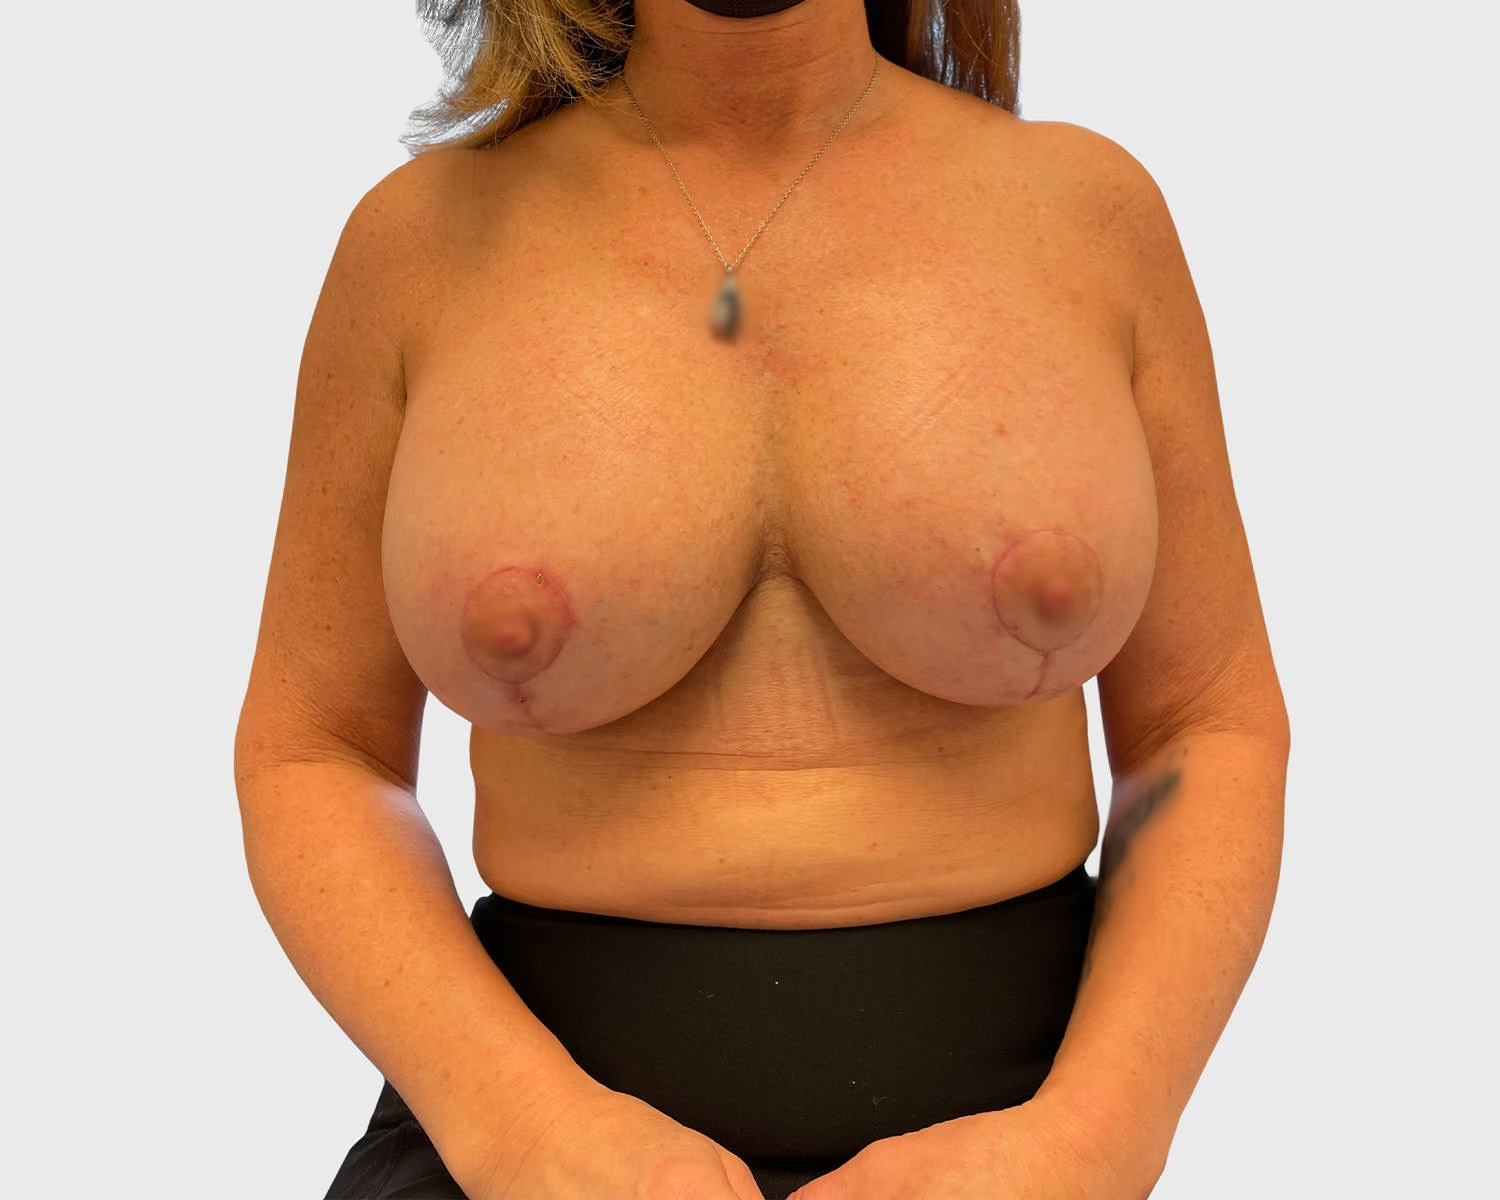
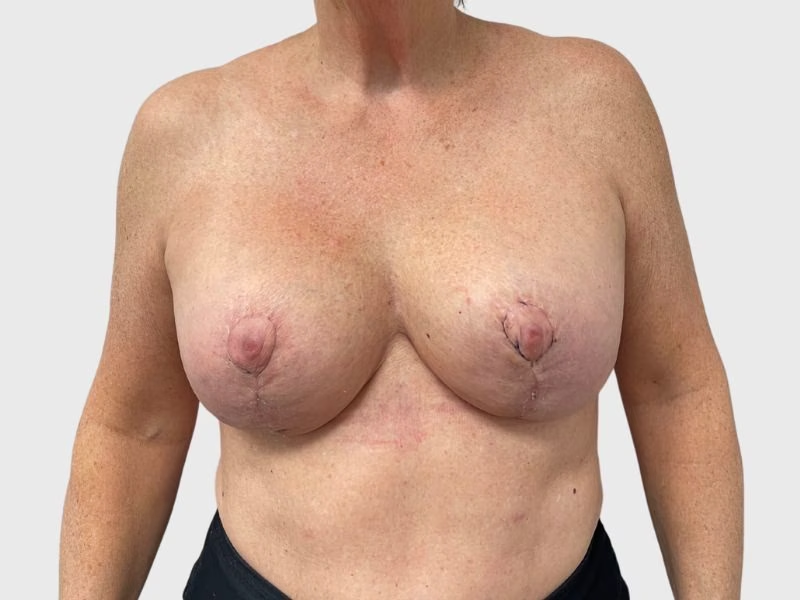
Fat Transfer to Breasts Case  1 after view showing healed contour outcome context
After
Case 2Fat Transfer to BreastsView Case
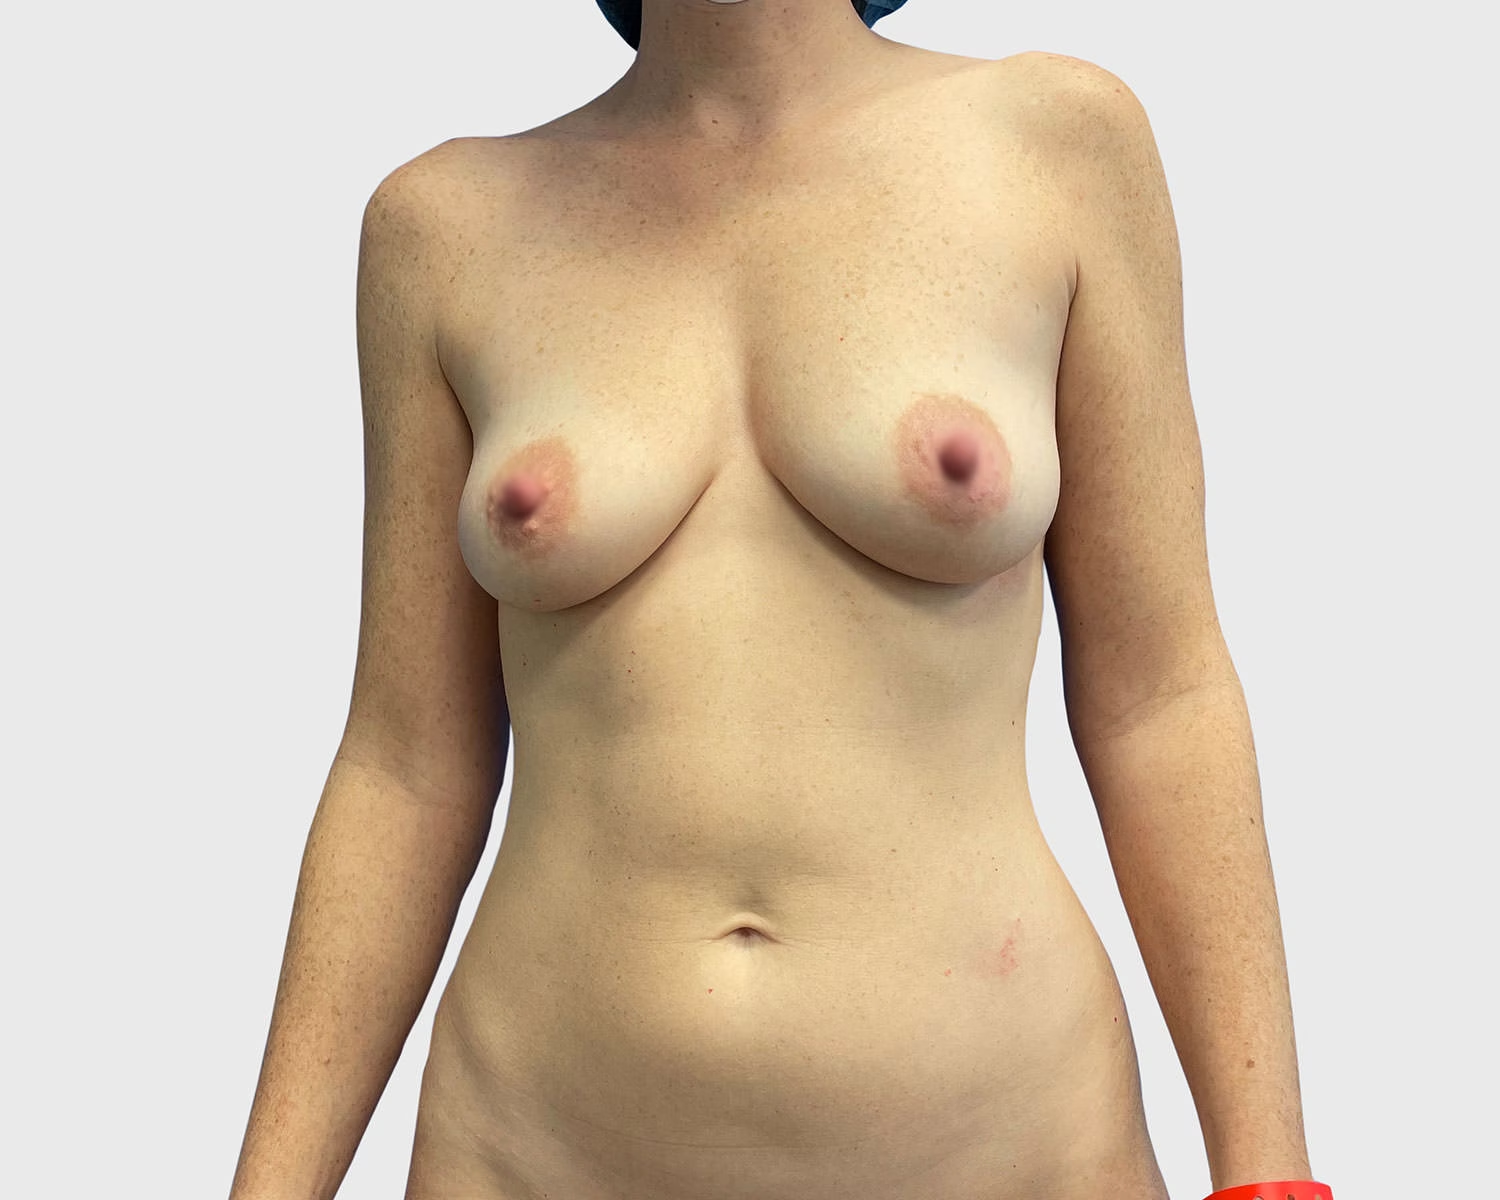
Fat Transfer to Breasts Case  2 before view for surgical case review
Before
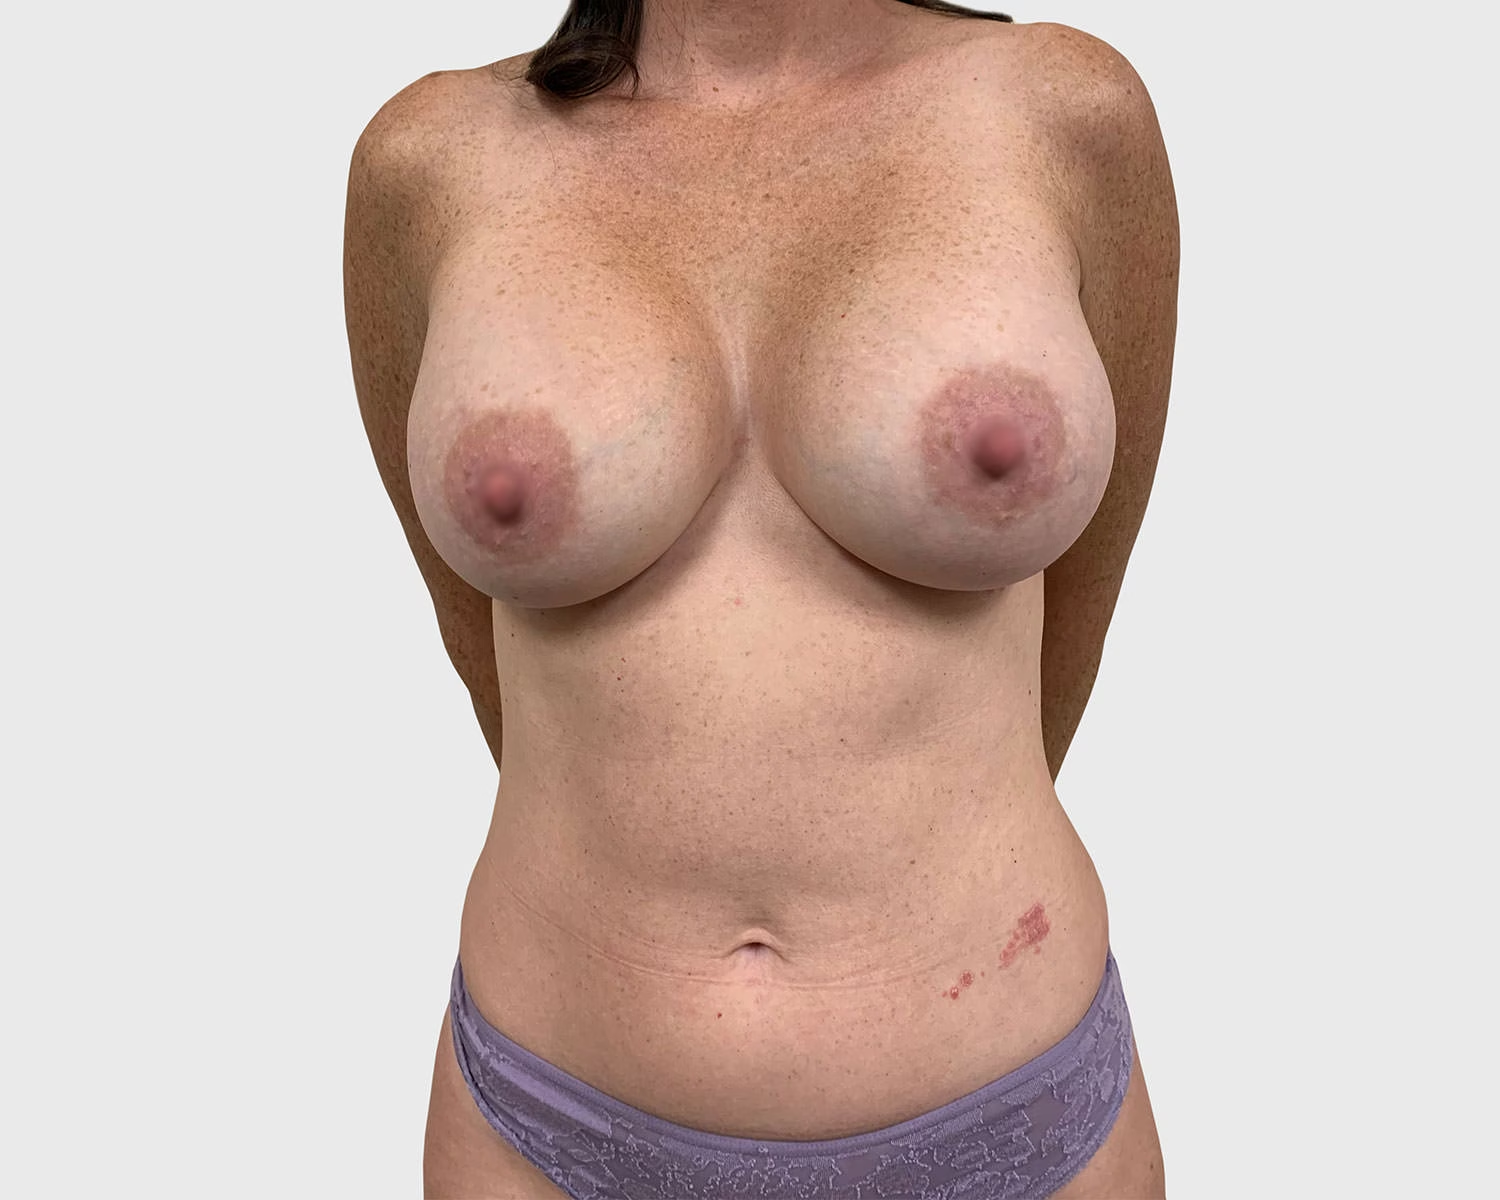
Fat Transfer to Breasts Case  2 after view showing healed contour outcome context
After
Case 3Fat Transfer to BreastsView Case
Fat Transfer to Breasts Case  3 before view for surgical case review
Before
Fat Transfer to Breasts Case  3 after view showing healed contour outcome context
After
Case 4Fat Transfer to BreastsView Case
Fat Transfer to Breasts Case  4 before view for surgical case review
Before
Fat Transfer to Breasts Case  4 after view showing healed contour outcome context
After
Case 5Fat Transfer to BreastsView Case
Fat Transfer to Breasts Case  5 before view for surgical case review
Before
Fat Transfer to Breasts Case  5 after view showing healed contour outcome context
After
Case 6Fat Transfer to BreastsView Case
Fat Transfer to Breasts Case  6 before view for surgical case review
Before
Fat Transfer to Breasts Case  6 after view showing healed contour outcome context
After
Case 7Fat Transfer to BreastsView Case
Fat Transfer to Breasts Case  7 before view for surgical case review
Before
Fat Transfer to Breasts Case  7 after view showing healed contour outcome context
After
Case 8Fat Transfer to BreastsView Case
Fat Transfer to Breasts Case  8 before view for surgical case review
Before
Fat Transfer to Breasts Case  8 after view showing healed contour outcome context
After
Case 9Fat Transfer to BreastsView Case
Fat Transfer to Breasts Case  9 before view for surgical case review
Before
Fat Transfer to Breasts Case  9 after view showing healed contour outcome context
After
Case 10Fat Transfer to BreastsView Case
Fat Transfer to Breasts Case 10 before view for surgical case review
Before
Fat Transfer to Breasts Case 10 after view showing healed contour outcome context
After
Case 11Fat Transfer to BreastsView Case
Fat Transfer to Breasts Case 11 before view for surgical case review
Before
Fat Transfer to Breasts Case 11 after view showing healed contour outcome context
After
Case 12Fat Transfer to BreastsView Case
Fat Transfer to Breasts Case 12 before view for surgical case review
Before
Fat Transfer to Breasts Case 12 after view showing healed contour outcome context
After
Case 13Fat Transfer to BreastsView Case
Fat Transfer to Breasts Case 13 before view for surgical case review
Before
Fat Transfer to Breasts Case 13 after view showing healed contour outcome context
After
Case 14Fat Transfer to BreastsView Case
Fat Transfer to Breasts Case 14 before view for surgical case review
Before
Fat Transfer to Breasts Case 14 after view showing healed contour outcome context
After
Case 15Fat Transfer to BreastsView Case
Fat Transfer to Breasts Case 15 before view for surgical case review
Before
Fat Transfer to Breasts Case 15 after view showing healed contour outcome context
After
Case 16Fat Transfer to BreastsView Case
Fat Transfer to Breasts Case 16 before view for surgical case review
Before
Fat Transfer to Breasts Case 16 after view showing healed contour outcome context
After
Case 17Fat Transfer to BreastsView Case
Fat Transfer to Breasts Case 17 before view for surgical case review
Before
Fat Transfer to Breasts Case 17 after view showing healed contour outcome context
After
Case 18Fat Transfer to BreastsView Case
Fat Transfer to Breasts Case 18 before view for surgical case review
Before
Fat Transfer to Breasts Case 18 after view showing healed contour outcome context
After
Case 19Fat Transfer to BreastsView Case
Fat Transfer to Breasts Case 19 before view for surgical case review
Before
Fat Transfer to Breasts Case 19 after view showing healed contour outcome context
After
Case 20Fat Transfer to BreastsView Case
Fat Transfer to Breasts Case 20 before view for surgical case review
Before
Fat Transfer to Breasts Case 20 after view showing healed contour outcome context
After
Case 21Fat Transfer to BreastsView Case
Fat Transfer to Breasts Case 21 before view for surgical case review
Before
Fat Transfer to Breasts Case 21 after view showing healed contour outcome context
After
Case 22Fat Transfer to BreastsView Case
Fat Transfer to Breasts Case 22 before view for surgical case review
Before
Fat Transfer to Breasts Case 22 after view showing healed contour outcome context
After

Radiance beyond appearance

A person's Aura is formed by the harmony of the body, mind and soul. The delicate transformation of the body can have a positive effect on the mind and soul, leading to a new and enhanced aura. Discover your true Aura!